How Invisalign Works & Treatment Process
Welcome to Cork City Dentist, where we’re dedicated to providing you with the best dental care possible. If you’re considering Invisalign as an orthodontic treatment option, we’re here to help.
On this page, we’ll walk you through the complete treatment process and timeline for getting Invisalign, what to expect during your treatment, how often you’ll need to visit the dentist, whether teeth whitening is possible during Invisalign treatment, and what happens when your treatment is finished.


What is the complete treatment process and timeline for getting Invisalign?
Initial free consultation
STEP 1 The first step in getting Invisalign is to schedule a consultation with a qualified Invisalign provider, like the experts at Cork City Dentist. During your consultation, we’ll evaluate your dental health and determine if Invisalign is the right treatment option for you. We will discuss your needs and wants/concerns. A rough quote and timeline can be given at this free appointment. If it is, we’ll create a customised treatment plan that includes a series of clear, custom-made aligners that will gradually shift your teeth into their correct position.
Records appointment
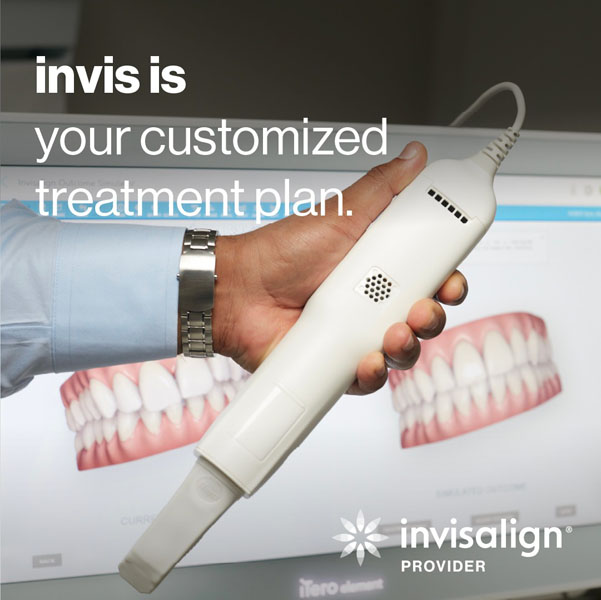
STEP 2, the records appointment: at this visit, there will be four jobs. 1) take an overall x-ray called an OPG. This checks your jaws for any pathology or disease. It also checks for extra teeth. Another factor of interest in this x-ray is the general size and form of the roots present. 2) we take a set of photos with 6-10 images of your teeth inside your mouth and four outside your mouth of your face and jaws. 3) we take a hyper-accurate scan of your teeth in their current position- no gooey impressions are required because we have invested in the latest technology- thank you, digital! 4) we fill out a long form detailing your mouth as it is now.
- A set of photographs 9-12 inside your mouth and four outside your mouth
- A scan of your teeth top and bottom
- An OPG x-ray. This is an x-ray that travels outside your jaw showing both jaws and all teeth including those buried inside you.
- A form that your dentist fills out detailing your particular tooth and relative jaw positions.
STEP 3 You receive a copy of our consent form which has all the details pertaining to your particular treatment- how much will the treatment cost exactly, including details of payment plans possible – how long will the treatment take as best can be judged- what are the risks of your orthodontic treatment, (usually not many thank god). There will also be details about your responsibilities to your Invisalign journey, such as the expected wear time of aligners and the upkeep of oral hygiene. Along with the consent form, you will receive an animation of how your treatment is likely to progress according to the Invisaligns algorithm and their experience of 11 million plus cases completed. This is called a ‘Clincheck’ and is fantastically exciting. It will show your teeth moving aligner by aligner to the end goal.
Approving the Clincheck and Consent
STEP 4 Once you are happy with everything, then the aligners are fabricated. An appointment is required to place some clear/white attachments on some of your teeth to help with the planned movements. My forever example of this follows- if one was trying to rotate a football with one hand, it takes more work. However, if the football had a little stick attached to it you could push the stick to rotate it very quickly. From this appointment, you will leave with your aligners in. You will be clear on what’s required of you and how to care for them and your teeth. At this stage, your teeth have already started moving- hooray!
Fitting
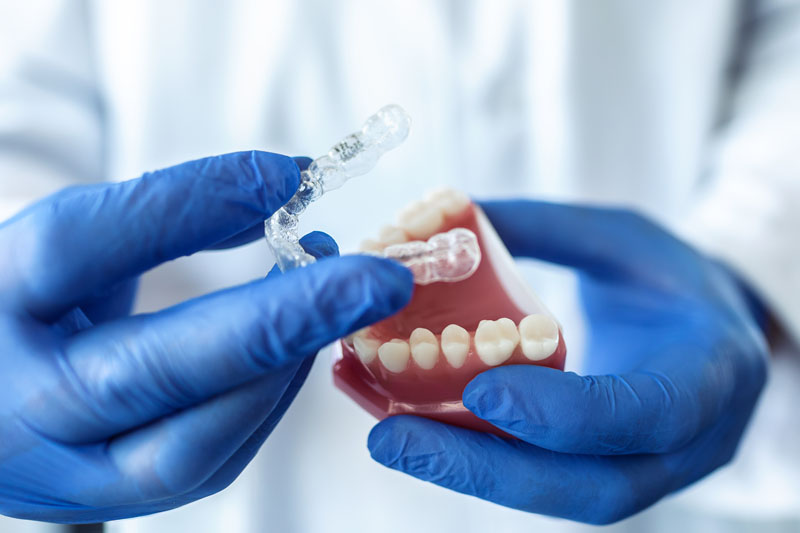
At your fitting a template is used to add some tooth coloured temporary attachments to the teeth. These help keep the aligners snugly in place and give the aligners something to facilitate particular movements. For example if you are trying to rotate a tooth with a round outline then something projecting from the tooth slightly is a great help.
Monitoring
STEP 5 Review appointments happen about every 6-8 weeks depending on the treatment plan. At these appointments, three things are generally checked
- how are you getting on? Are you having any problems?
- are the aligners fitting, which is also called ‘tracking’,
- are all the attachments still in place- the attachments can only be stuck on with medium strong glue as similar to post-it notes we want them to come off again relatively easily.
STEP 3 You receive a copy of our consent form which has all the details pertaining to your particular treatment- how much will the treatment cost exactly, including details of payment plans possible – how long will the treatment take as best can be judged- what are the risks of your orthodontic treatment, (usually not many thank god). There will also be details about your responsibilities to your Invisalign journey, such as the expected wear time of aligners and the upkeep of oral hygiene. Along with the consent form, you will receive an animation of how your treatment is likely to progress according to the Invisaligns algorithm and their experience of 11 million plus cases completed. This is called a ‘Clincheck’ and is fantastically exciting. It will show your teeth moving aligner by aligner to the end goal.
Approving the Clincheck and Consent
STEP 4 Once you are happy with everything, then the aligners are fabricated. An appointment is required to place some clear/white attachments on some of your teeth to help with the planned movements. My forever example of this follows- if one was trying to rotate a football with one hand, it takes more work. However, if the football had a little stick attached to it you could push the stick to rotate it very quickly. From this appointment, you will leave with your aligners in. You will be clear on what’s required of you and how to care for them and your teeth. At this stage, your teeth have already started moving- hooray!
Fitting
At your fitting a template is used to add some tooth coloured temporary attachments to the teeth. These help keep the aligners snugly in place and give the aligners something to facilitate particular movements. For example if you are trying to rotate a tooth with a round outline then something projecting from the tooth slightly is a great help.
Monitoring
STEP 5 Review appointments happen about every 6-8 weeks depending on the treatment plan. At these appointments, three things are generally checked
STEP 6 You are finished your initial run of aligners- so what’s next? For the vast amount of people, there will be a few small issues to clear up. This is mainly because we are not robots, and there is an infinite variety to us. Our teeth will not move exactly as the computer planned. So usually, some extra aligners are ordered following a new scan and pictures. This is called refinement, and often people will have a couple of them. This should not be viewed as some sort of a failure of treatment; it is just part of it. This does NOT represent an extra cost; it is part of the original quotation.
Finished Result
STEP 7 Hooray, you’re finished, and let me tell you, you are gorgeous. Now we have to keep it that way. After your final aligner, your attachments are removed, and records are taken, including pictures of your final position. Generally, one set of retainers is supplied the next day, including a wear schedule. Some stronger retainers are also constructed and fitted approximately a month later.
STEP 8 A retainer review appointment is scheduled for about four months after the end of treatment. This is just to check on the state of your retainers and to stress the need for continually wearing your retainers- at least a night a week forever but much more than that in a couple of years following treatment.
Invisalign - Invisible braces, but requires commitment
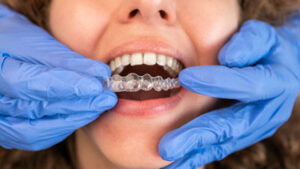
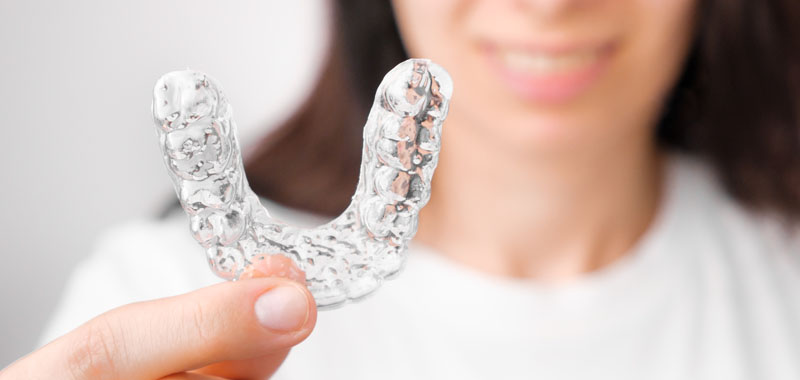
One of the biggest benefits of Invisalign is that the aligners are virtually invisible, so most people won’t even know you’re wearing them. The aligners are also comfortable to wear and can be easily removed for eating, drinking, and brushing your teeth.
However, it’s important to remember that Invisalign treatment requires commitment and discipline. You’ll need to wear your aligners for 20 to 22 hours a day, and you’ll need to switch to a new set of aligners every one to two weeks. Apps such as Trayminder are there to help. You’ll also need to visit your dentist regularly to monitor your progress and make any necessary adjustments to your treatment plan.
Invisalign: how often to visit the dentist
During your Invisalign treatment, you’ll need to visit your dentist regularly to monitor your progress and make any necessary adjustments to your treatment plan. For the most part, appointments are every 6-8 weeks. This has been decided upon by the orthodontic profession to be the optimum length of time to allow movement to happen, allow the tooth to settle in its new position and review progress. At Invisalign review appointments, the three basic tenets are
- Are you encountering any difficulties? Mercifully in our experience, by the time we see you for review, we find that almost no problems are reported.
- Are all attachments in place? If you have a very gritty, heavy diet, you make knock-off attachments, and they will need to be replaced. As mentioned previously, the attachments are glued on with the idea that they will be coming off again, so they are only medium strong. An attachment-off is no big issue and can be easily sorted out.
- Are the teeth moving as predicted? Occasionally teeth will not move as predicted and need to be helped along. This is more common in patients who do not wear the aligners as advised or who do not use their chewies. Chewies are a type of small rubber tube similar in shape to a small cocktail sausage. They are chewed upon when aligners are put back in your mouth, and ensure that the aligners are seated fully.
Invisalign teeth whitening: is it possible?
If you’re interested in teeth whitening, you may be wondering if it’s possible to whiten your teeth during Invisalign treatment. The answer is yes – Invisalign aligners can be used as a tray for teeth whitening gel. In further good news, at Cork City Dentist, a free take-home whitening treatment is provided with each Invisalign case (usually costs 300e!). Usually, patients begin this later in treatment when all surfaces that are going to be exposed are revealed. For example, there is no point really in whitening a tooth that is half rotated as only half the tooth will be white when it’s fully aligned.
The usual provisos that go with whitening teeth will be explained, such as when and for how long to apply the whitening gel. We found at Cork City Dentist that most people decided to whiten their teeth after Invisalign because they were so delighted with their newly not crooked teeth they felt like going the whole hog, as it were! So we decided to make that a simple gift we could offer.
What happens when Invisalign is finished?
When your Invisalign treatment is finished, you’ll be amazed at the transformation in your smile. Your teeth will be straighter, and you’ll have a new sense of confidence in your appearance. However, your treatment isn’t over just yet – you’ll still need to wear a retainer to help maintain your new smile.
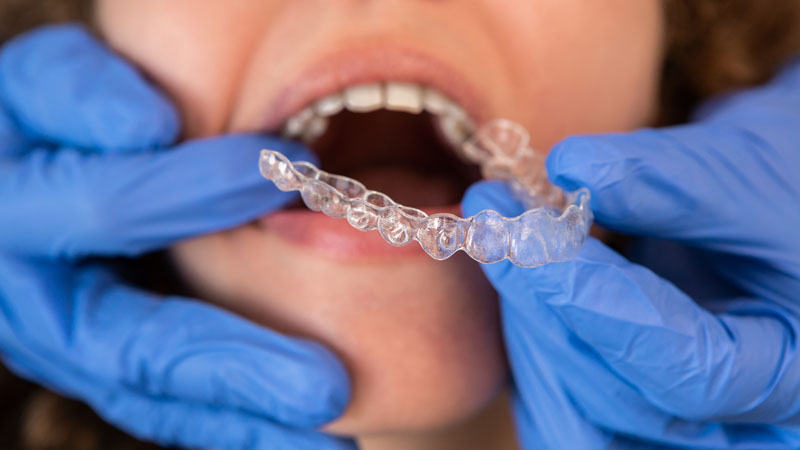
A retainer is a custom-made device that fits over your teeth and helps keep them in their correct position. Your dentist will provide you with instructions on how to wear your retainer and how often to wear it. In general, you’ll need to wear your retainer full-time for the first
month after your Invisalign treatment is finished. After that, you may be able to switch to wearing your retainer only at night. Typically that is every night for 12 months, six nights a week in month 13, five nights in month 14 etc. You will then be able to reduce to a permanent 1-2 nights a week. From a procedural point of view, when the great day comes that you have finished your treatment, firstly, all attachments are removed, and an impression is taken of your teeth top and bottom. Furthermore, a 3d scan and pictures are also recorded. Some clear Essix retainers will be provided the next day, and these resemble aligners- being virtually invisible. If fixed retainers are being used, then these are provided approximately one month after treatment ceases. At the moment, the gold standard for retention is removable retainers upper and lower AND a fixed bar type retainer, at least on the lower. The focus on the lower is because the lower jaw has a greater tendency to try and relapse than the upper-that is, its more likely to try and return to where the teeth were originally. When the retainers are fitted, care and wear advice is provided, including a wear schedule.
An important point to note is that even in the presence of fixed retainers, removable retainers are still the king! Although the fixed retainers seem more permanent and definite, they are essentially the backup and are designed to keep you in place when the dog has run off with your removable retainers, or you’ve misplaced them and are waiting for replacements.


Our Invisalign Prices
| Treatment | Price |
|---|---|
| Orthodontic Consultation | FREE |
| Removable Retainer | €120 |
| Fixed Retainer | €250 |
| Quick Straight Teeth - 1 Arch | €2200 |
| Quick Straight Teeth - Both Arches | €3000 |
| Invisalign - Express - 1 arch | €2400 |
| Invisalign - Express- Both arches | €2800 |
| Invisalign - Lite - 1 arch | €2995 |
| Invisalign - Lite - Both arches | €3900 |
| Invisalign – Moderate – Single arch | €3500 |
| Invisalign – Moderate – Both arches | €4300 |
| Invisalign - Comprehensive | €4800 |
| Whitening After Invisalign | FREE |
| Fixed Metal Braces - 1 arch | €2500 |
| Fixed Metal Braces - Both arches | €4200 |
| Ceramic Fixed Braces - 1 Arch | €2800 |
| Ceramic Fixed Braces - Both arches | €4400 |
Meet The Team
We have a Fantastic group of highly trained, friendly Invisalign Experts to ensure you get the best treatment in Cork.
Get in Touch with us Today
Please call or email us via the contact form and we respond to you as soon as possible.
Contact Info
Phone: (021) 450 1306 / (021) 450 1250
Email: [email protected]


